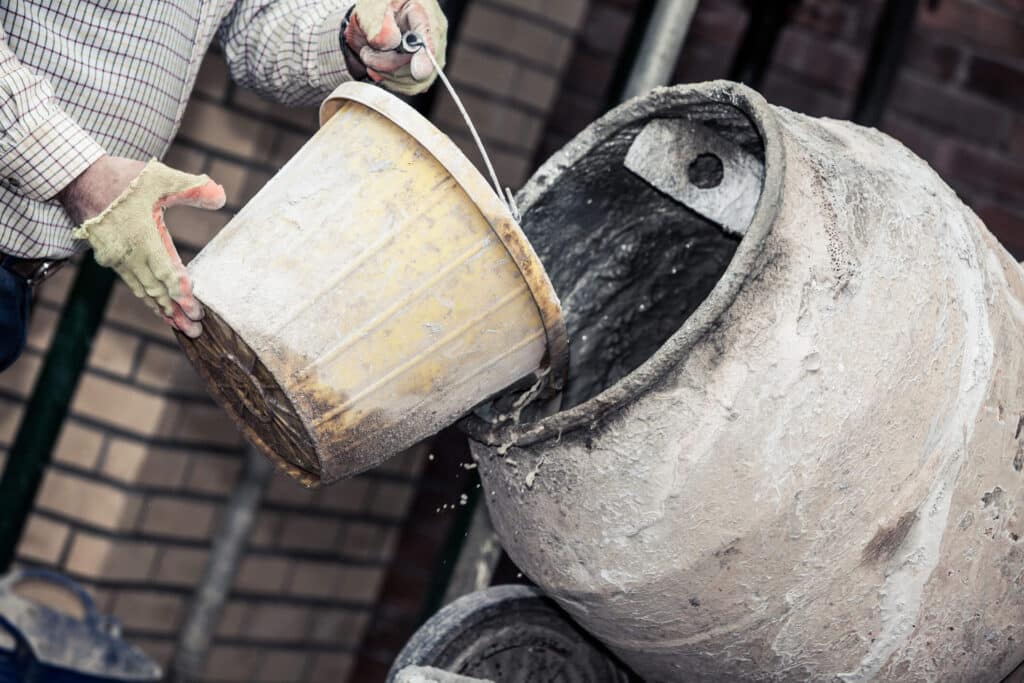
Concrete is a versatile and essential building material used in a wide range of construction
projects, from simple DIY tasks to large-scale construction. Mixing concrete may seem daunting
to some, but it’s a fundamental skill that anyone can learn. In this article, we will break down the
process into five easy steps to help you mix concrete properly, ensuring that your projects are
both structurally sound and aesthetically pleasing.

Step 1: Gather Your Materials and Equipment
Before you begin mixing concrete, it’s crucial to gather all the necessary materials and
equipment. Here’s what you’ll need:
Concrete Mix: You can purchase bags of concrete mix from your local hardware store. The mix
contains cement, sand, and gravel in the correct proportions.
Water: You’ll need clean water for the mixing process. The amount of water required depends
on the type of mix and the specific project requirements.
Mixing Container: A wheelbarrow, plastic mixing tub, or a sturdy mixing tray will work. The
container should be clean and free from contaminants.
Measuring Tools: A shovel, a trowel, and a bucket are essential for measuring and transferring
materials accurately.
Safety Gear: Always wear safety gear, including gloves, safety glasses, and a dust mask to
protect yourself from any potential hazards.
Step 2: Measure Your Ingredients
The key to a successful concrete mix is accurate measurement. Start by measuring the right
amount of water based on the instructions on the concrete mix bag. Typically, the ratio is about
1 gallon of water per 50 pounds of concrete mix, but this may vary. Read the manufacturer’s
guidelines for specific recommendations.
Next, add the concrete mix to your mixing container. To achieve the desired consistency, it’s
essential to maintain the correct mix of cement, sand, and gravel. For smaller projects, you can
use a simple formula: 1 part cement, 2 parts sand, and 3 parts gravel. Use your shovel or trowel
to measure and mix these components in the container.
Step 3: Mix Thoroughly
Once you’ve measured your materials, it’s time to start mixing. Follow these guidelines for
thorough mixing:
Pour the Dry Mix: Begin by slowly adding the dry concrete mix to the water in your mixing
container. Don’t dump it all in at once, as this can make the mixing process more challenging.
Mix Gradually: Use your shovel or mixing tool to combine the dry mix and water. Mix gradually
and thoroughly to ensure that all the particles are evenly coated. Continue until you have a
consistent, lump-free mixture.
Adjust as Needed: Depending on your project’s requirements, you may need to add more water
or mix components. It’s easier to add small amounts of water to reach the right consistency than
to correct an overly wet mix.
Mixing Time: Continue mixing for about 5-10 minutes until the concrete reaches a smooth,
workable consistency. The mix should be uniform and free from clumps.
Step 4: Check the Consistency
The consistency of your concrete mix is vital to achieving a successful project. The ideal
consistency is often described as being similar to thick oatmeal or a milkshake. To check the
consistency, use the slump test:
Slump Test: Fill a separate container, like a plastic cup, with some of your mixed concrete. Then,
turn the cup upside down and remove it. The concrete should maintain its shape but slightly
slump, or settle, by about one inch. This indicates that your mix has the correct consistency.
Adjust as Necessary: If the concrete is too dry, add a small amount of water and mix again. If it’s
too wet, add more dry mix and thoroughly combine until you achieve the desired consistency.
Step 5: Use Your Concrete Mix
Now that you have successfully mixed your concrete, it’s time to put it to use in your project.
Here are some tips for working with your concrete mix:
Timing is Crucial: Once the concrete is mixed, use it promptly. Concrete starts to set and harden
as soon as it comes into contact with water, so avoid unnecessary delays.
Pour and Spread: Depending on your project, you may need to pour the concrete into forms or
directly onto the surface. Use a shovel or concrete rake to spread the mix evenly.
Smooth and Finish: If your project requires a smooth finish, use a trowel to level and finish the
concrete surface. For textured or decorative finishes, consider using specialized tools or
techniques.
Curing: After the concrete is placed, it’s essential to protect it from rapid drying. Cover it with
plastic sheeting or wet burlap and keep it damp for at least seven days to allow it to cure
properly.
Clean Up: Once you’ve completed your project, clean your tools and containers thoroughly.
Concrete can harden on surfaces, making them challenging to clean if left unattended.
Conclusion
Mixing concrete may seem daunting at first, but by following these five easy steps, you can
master the process and create high-quality, durable concrete for your construction projects.
Remember that practice makes perfect, so don’t be discouraged if your first attempts aren’t
flawless. With time and experience, you’ll become more proficient at mixing concrete and
tackling a variety of projects with confidence.


