Hey there! If you’re thinking about getting new floors, you’ve come to the right place. Flooring installation might seem intimidating, but with the right planning and know-how, it can go smoothly. I’ve been in the business for years, and trust me, proper preparation makes all the difference. Let’s walk through what you need to know to get that perfect finish without the headaches.
Preparing Your Home for a Successful Floor Installation
Before you even think about laying that first plank, you’ve got some homework to do. Clear out the room completely—yep, everything needs to go! Furniture, rugs, and even those baseboards might need to come off depending on your flooring installation type.
Don’t forget about acclimation—it’s super important! Hardwood and laminate floors need to adjust to your home’s humidity and temperature. Leave the materials in your home for at least 48 hours before starting. Also, check your subfloor. Is it level? Clean? Dry? These things matter more than you might think for a smooth result.
Tools and Materials You Need For Flooring Installation
Having the right gear on hand saves tons of time and frustration. The basics you’ll need include:
- Measuring tape and pencil for precise cuts
- Utility knife for trimming underlayment
- Rubber mallet to secure boards without damaging them
- List Item #1
- Knee pads (trust me, your knees will thank you!)
Besides tools, don’t skimp on quality materials. Good underlayment reduces noise and provides cushioning. Quality transition strips between rooms give your flooring installation that professional touch. And remember, buying about 10% extra flooring material accounts for mistakes and future repairs.

Top Tips To Ensure Your New Floor Looks Amazing
Start your flooring installation from the right spot! For most rooms, begin in the corner farthest from the door. This way, you’re not walking over newly installed sections as you work.
Mix and match planks from different boxes to avoid noticeable color patterns. Nothing screams “amateur job” like obvious color groupings. Also, stagger your end joints by at least 6 inches between rows. This creates a stronger floor and looks way better.
Take your time with tricky cuts around doorways or vents. Rushing here often leads to gaps or awkward fits. And always, always leave that expansion gap around the edges—usually about 1/4 inch. Your floor needs room to expand with temperature changes.

Maintaining Your New Floor: Care Tips After Installation
After your flooring installation is complete, give it some time before bringing furniture back in—about 24 hours for most types. Use felt pads under furniture legs to prevent scratches, and lift (don’t drag) heavy pieces when moving them.
Different floors need different cleaning approaches. Hardwood loves microfiber mops and specific wood cleaners, while vinyl is happy with just warm water and mild soap. Whatever you do, avoid soaking any floor with water—even waterproof ones!
Regular maintenance keeps your floors looking fresh for years. Sweep or vacuum weekly to prevent tiny particles from scratching the surface. For wood floors, consider refinishing every few years to bring back that showroom shine.
FAQs
What's the best hardwood flooring installation method?
Nail-down installation provides the most stable and long-lasting results for solid hardwood. It creates that satisfying solid feel underfoot and minimizes squeaking. For engineered options, floating systems with click-lock edges offer simpler DIY-friendly installation.
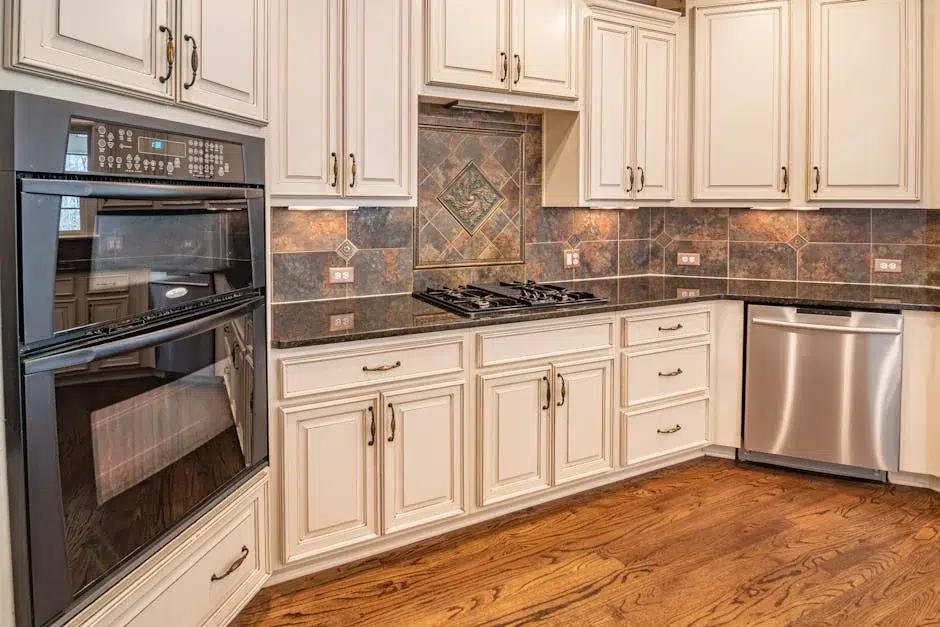
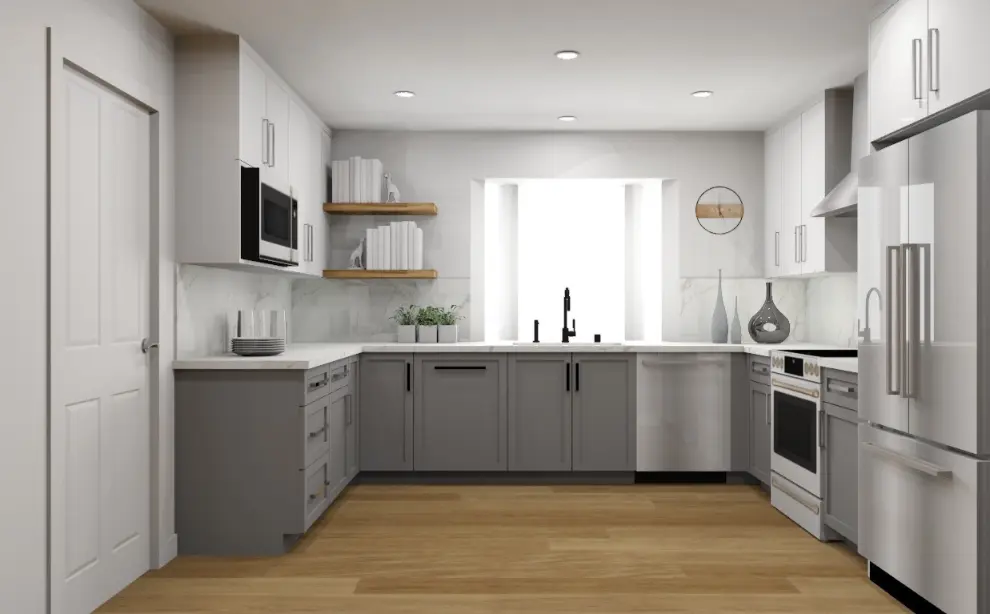
What type of flooring is best for my kitchen?
Porcelain tile stands out for kitchens—it’s waterproof, extremely durable, and handles spills beautifully. Luxury vinyl plank offers a more budget-friendly alternative with excellent water resistance. Engineered hardwood works too if sealed properly against moisture.
What is underlayment?
Underlayment is the crucial layer installed between your substructure and visible surface. It provides cushioning, sound dampening, moisture protection, and helps smooth out minor imperfections. Think of it as the unsung hero that makes everything above it perform better.