You’ve been dreaming of an outdoor living space that seems to float above your landscape. As you begin planning this spectacular addition, questions arise. Will it be stable and safe? What’s the best way to attach it to the house? How high should it sit above the ground? This guide answers those questions and more with tips for choosing materials, designing for drainage, meeting code requirements, and installing railings and stairs. Learn how a floating deck can expand your home’s livable space while creating a striking architectural feature. With the right information, you can have the deck of your dreams.
Floating Deck Ideas: What Exactly Are They?
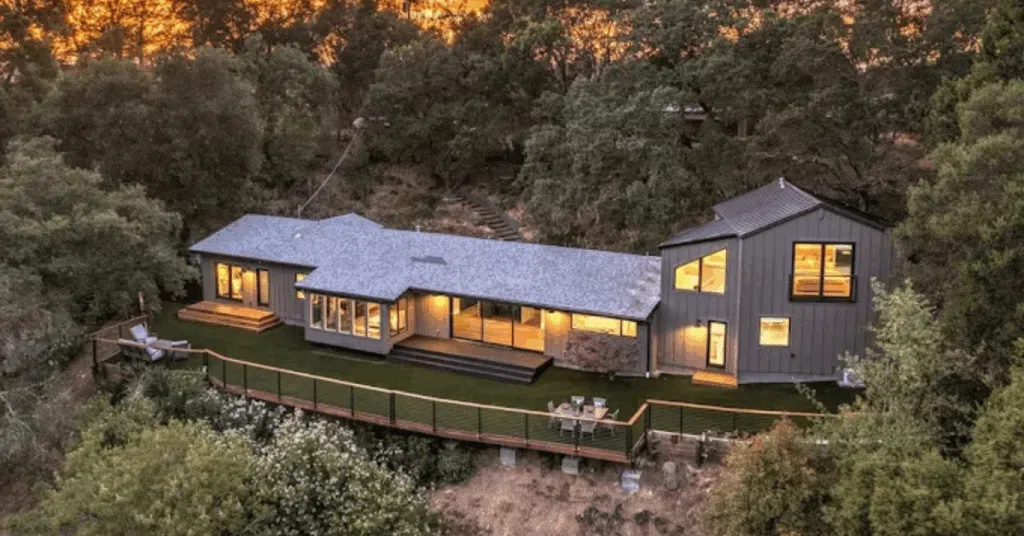
Floating decks are decks that are not connected to a permanent foundation and instead sit on supports above the ground. The main benefit of floating decks is that they do not require a building permit since they are not permanently attached. They also tend to be more affordable and easier to construct compared to traditional decks.
Materials and Design
The most common materials for floating decks are composite and wood boards, as well as aluminum or steel for the support beams. Composite and aluminum have the advantage of being low-maintenance. In terms of design, floating decks can be simple squares or rectangles, or more custom shapes to fit your space. They can also be multi-level, with stairs connecting the different levels.
Installation
To install a floating deck, you first need to level the ground and install the support beams. The beams are anchored in concrete piers that extend down to solid ground. Joists are then attached to the top of the beams to provide support for the decking boards. The key is to make sure the entire structure is level for stability and to prevent tripping hazards. Proper spacing of the joists and ventilation under the deck is also important to prevent warping.
Safety and Longevity
While floating decks are convenient because they do not require a building permit, there are some safety and longevity considerations. The deck is not as securely anchored as a traditional deck attached to a foundation. Strong winds or improper installation could potentially cause instability over time. Annual inspections of the anchoring and connections are recommended to ensure safety. Proper maintenance by sealing and staining the wood or composite material will also help maximize the lifespan of a floating deck.
With the right design and installation, a floating deck can provide a great outdoor living space for many years. By understanding what floating decks are and how they work, homeowners can make an informed choice about whether a floating deck is the right option for their needs.
The Benefits of Choosing a Floating Deck
A floating deck offers several advantages over a traditional deck.
Low Maintenance
Since a floating deck is not physically attached to the ground, it moves freely with the expansion and contraction of the wood. This means warped, buckled boards are less likely to develop over time. The decking material is also raised slightly above the ground, allowing for airflow that helps prevent rot and decay.
Easy Installation
Floating decks are much easier to install than anchored decks. They do not require concrete footings or piers to be poured. All you need is level ground and a protective barrier around the perimeter to keep the deck contained. Installation of a floating deck can often be completed in a single weekend using common tools.
Portability
If you decide to relocate your floating deck in the future, it can be disassembled and moved to a new location. The decking boards and joists are designed to be reconnected, so you can reconstruct the deck without having to purchase new materials. This can be useful if you move to a new home or want to reconfigure your outdoor space.
Affordability
Without the need for extensive ground preparations or heavy-duty anchoring hardware, floating decks tend to be very budget-friendly. The minimal materials and uncomplicated installation process keep costs relatively low. Floating decks are often 30 to 50 percent less expensive than traditional decks of a comparable size.
Overall, a floating deck is an ideal solution if you’re looking for an affordable, low-maintenance way to add extra outdoor living space to your home. With proper care and weather protection, a floating deck can provide many years of enjoyment and functionality.
Design Inspiration: Creative Floating Deck Ideas for Your Home

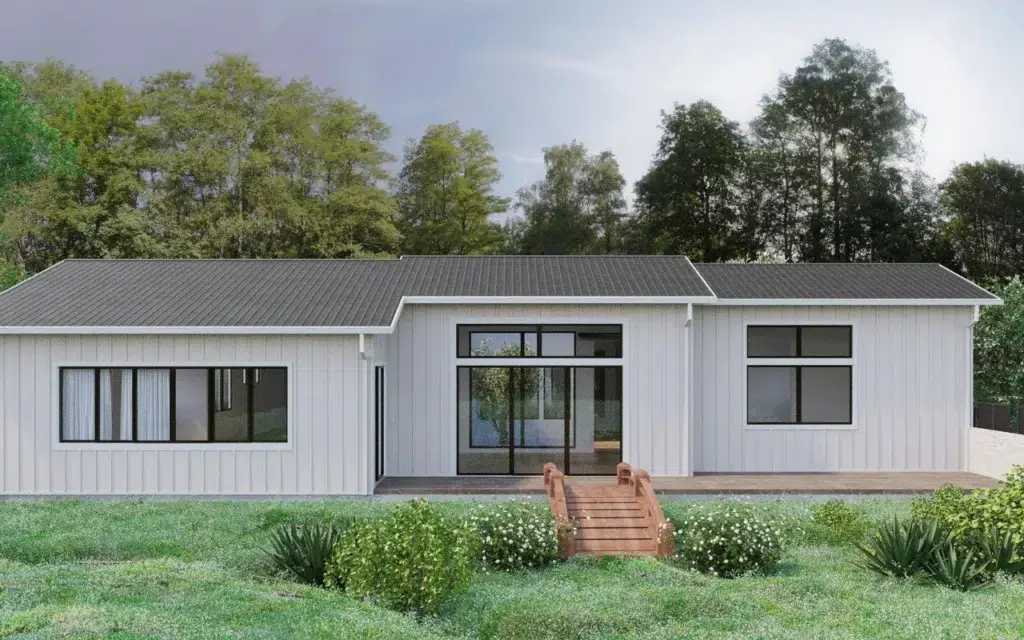
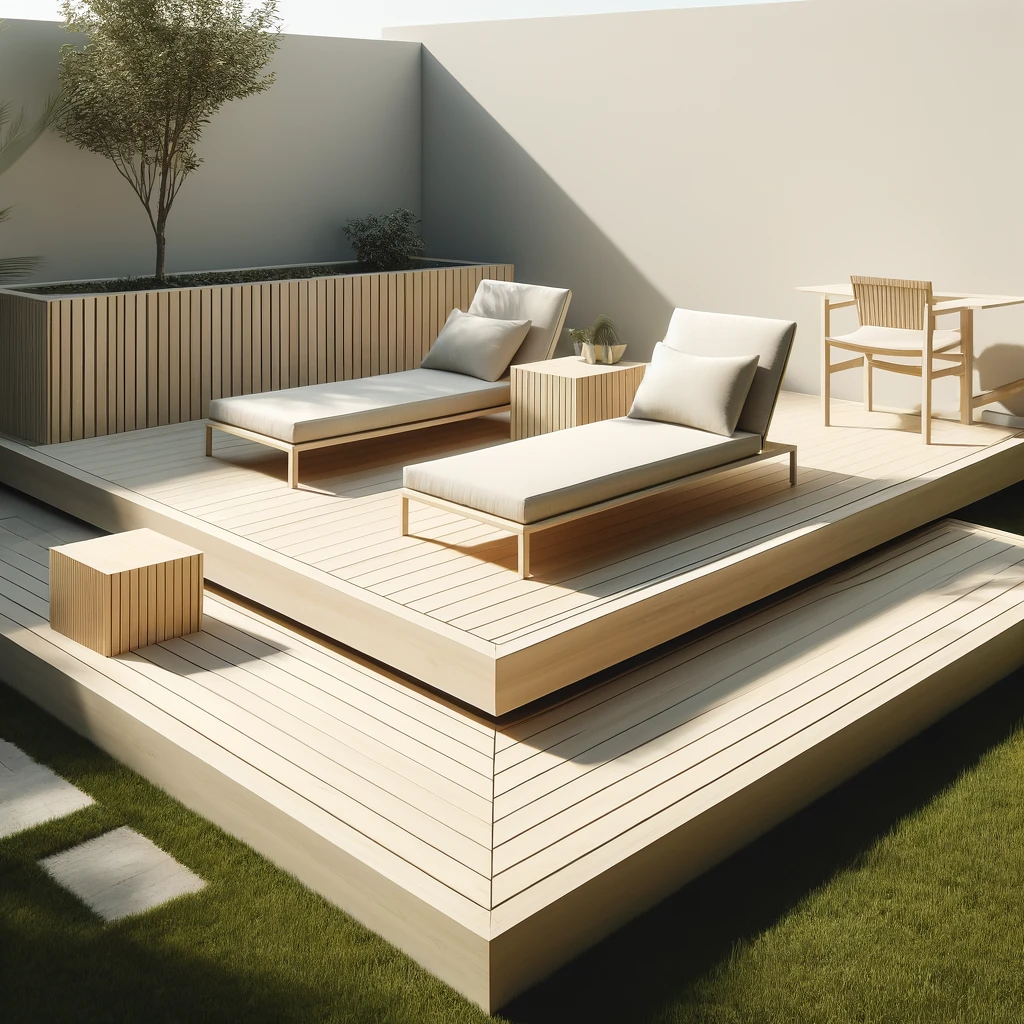
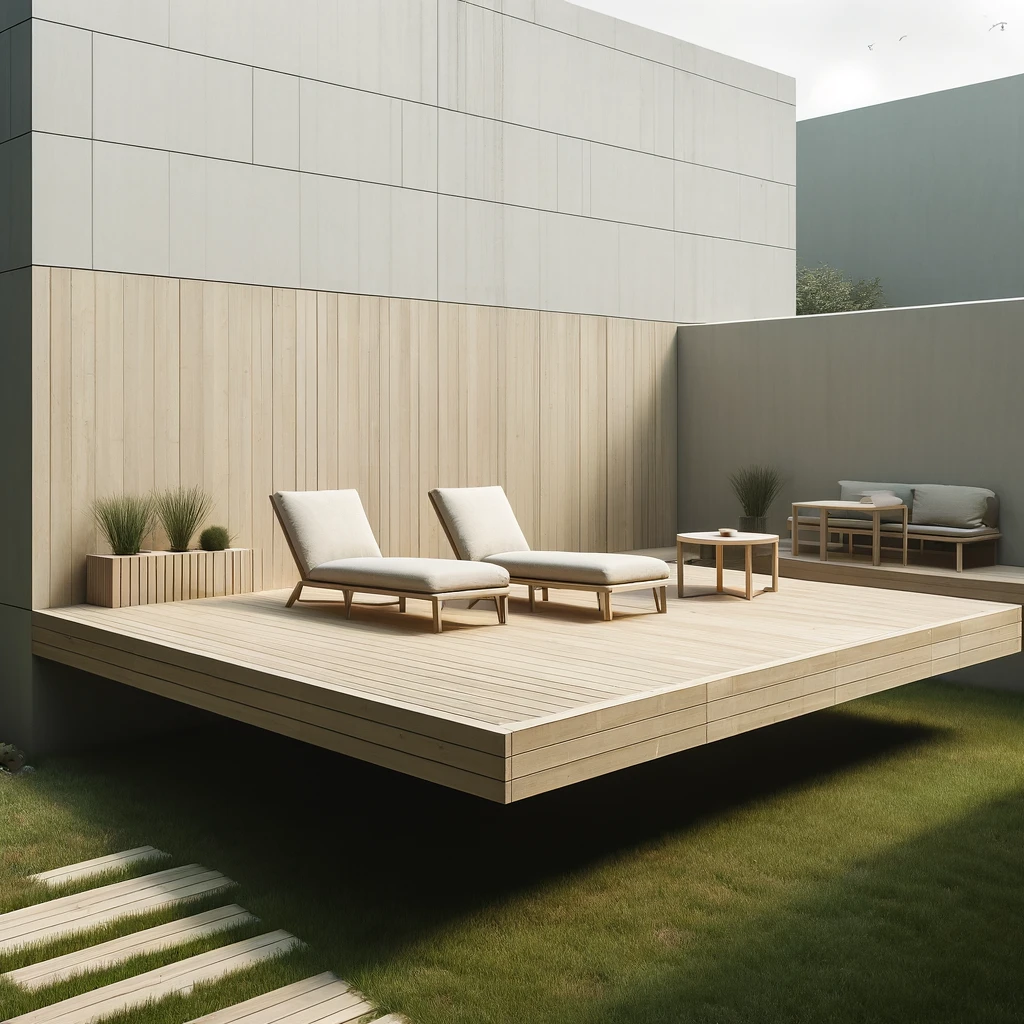
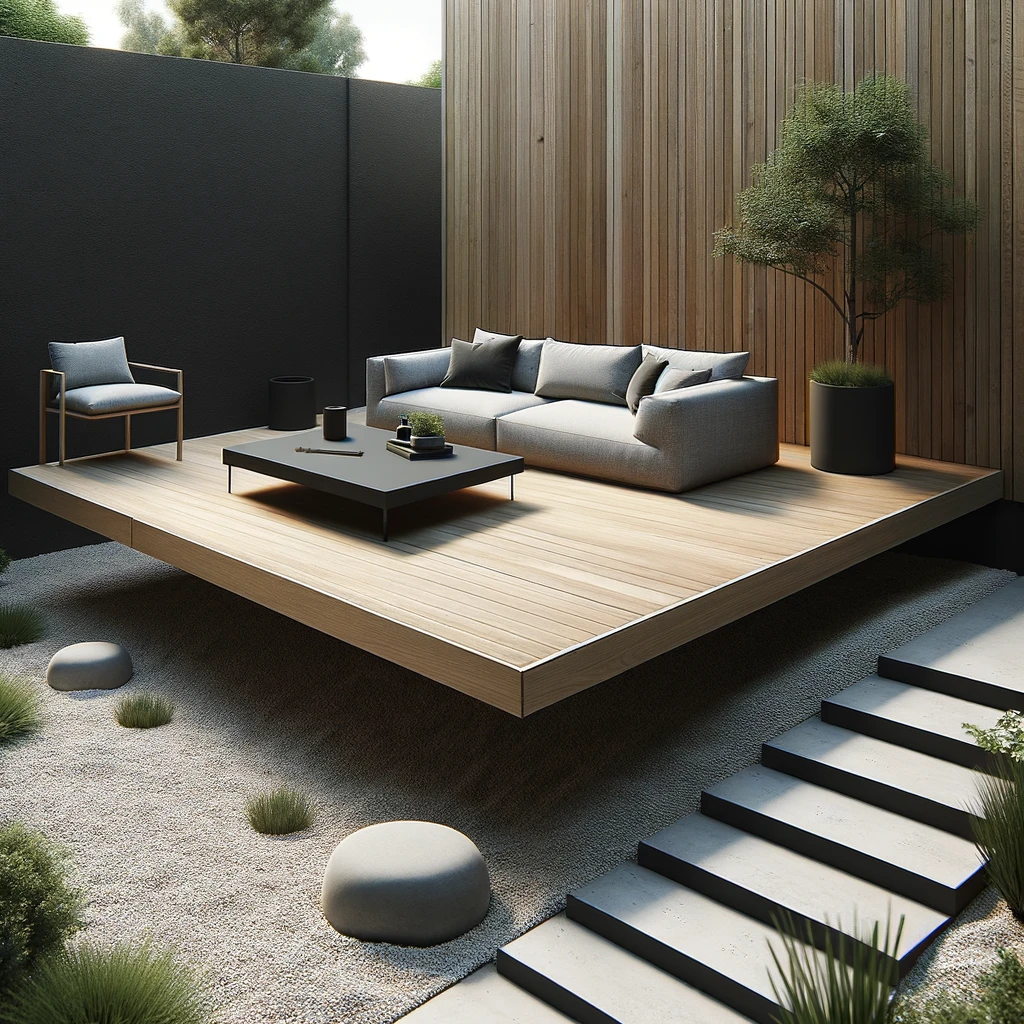
Minimalist and Modern
For a sleek, contemporary look, consider a simple rectangular floating deck. Use neutral wood tones like gray oak or ipe and minimal railings. The clean lines will create an uncluttered space perfect for entertaining or enjoying your morning coffee. The minimalist style pairs well with modern outdoor furniture in bold colors.
Rounded Corners
To soften the look of a floating deck, choose a design with rounded corners. Curved edges make the deck appear more organic and help it blend into your yardscape. Softer shapes also create a sense of flow and movement. A rounded deck is an ideal choice if you want to encourage casual conversation in a relaxed setting.
Multi-Level
For homes with sloping yards, a multi-level floating deck is an ideal solution. Connected platforms at staggered heights follow the contour of the land and provide flat, useful spaces for seating, dining, and other activities. Multi-level decks create visual interest with their varied shapes and also make the yard more accessible by minimizing steep inclines between areas.
Wrap-Around
For the ultimate in outdoor living, consider a wrap-around floating deck. As the name suggests, a wrap-around deck extends along two or more sides of the home, surrounding an outdoor space. The expansive area is perfect for large gatherings and allows for multiple separate zones like a dining area, lounge area, and built-in bar or kitchenette. The wrap-around style also provides easy access from multiple points in the home.
With some creative design thinking, you can craft a floating deck that suits your unique style and needs. Whether you prefer sleek and modern, soft and organic or spacious and multifunctional, there are options to inspire your perfect outdoor oasis. Careful planning and the right deck choice can help you make the most of your yard and enhance your property value for years to come.
Building a Floating Deck: A Step-by-Step Guide
As a homeowner looking to build a floating deck, there are several key steps you must follow to ensure proper installation and safety. A floating deck is not physically attached to your home, so careful planning and construction are essential.
Choose a Location
Select a level area of your yard that is convenient to access from your home. The location should not interfere with underground utilities or overhang power lines. Consider how the deck will be oriented to take advantage of views and sun exposure. You will need at least 6 to 12 inches of clearance around the edges of the deck for ventilation and access.
Obtain Permits
Check with your local building department regarding permits for your floating deck. Permits help ensure your deck is built to code and safely. Provide details about the proposed deck including dimensions, height, and materials. There may be fees required for the permits.
Purchase Supplies
You will need treated lumber, lag bolts or screws, joist hangers, beams, and a waterproof membrane or sheathing. For a 10×12 foot deck, you will want 4×4 inch posts, 2×6 inch joists, and 5/4×6 inch boards for the surface. Stain, sealant, railings, and stairs are optional additions.
Install Posts
Bury at least one-third of 4×4 inch posts in concrete footings below the frost line in your area. Posts should be 6 to 8 feet apart. Check that posts are level and plumb before the concrete sets. Let the concrete cure as directed before constructing the rest of the deck frame.
Add Joists and Beams
Attach the joists to the posts using joist hangers and waterproof wood screws or bolts. Joists should be 16 to 24 inches apart. Add support beams beneath the joists for extra stability. The beams attach to the posts in a similar manner as the joists.
With careful planning and following building codes, you can create a safe and enjoyable floating deck. Annual maintenance like power washing, staining, and sealing will help keep your deck looking its best for years to come. Enjoy your new outdoor living space!
FAQs About Floating Decks
Floating decks are an attractive and practical way to extend your living space outdoors. However, they do come with some questions homeowners frequently ask.
Do I need a permit to build a floating deck?
Building permits are typically required for floating decks, as they are for any permanent structure. Check with your local building department regarding the specific requirements in your area. They will want to ensure the deck is safe, secure, and up to code. It’s best to submit plans for your proposed deck to avoid issues down the road.
How much weight can a floating deck support?
The weight capacity of a floating deck depends on several factors, including the type of materials used, size of the deck, and number of supports. As a general rule, floating decks can typically support 40 to 100 pounds per square foot. So a 12×16-foot deck, for example, should be able to withstand between 7,680 to 19,200 pounds total weight. Be sure to follow the specifications provided for your deck kit or plans to ensure maximum weight capacity.
Do I need footings for a floating deck?
No, floating decks do not require poured footings. That’s what makes them “float” – they are not anchored in the ground. Instead, they use premade anchors, piers, or pads that sit on the surface of the soil. These supports distribute the weight so the deck does not sink or become uneven over time. Footings would prevent the deck from moving with the natural shifting of the ground.
How much do floating deck kits cost?
The cost of a floating deck can range from $10 to $30 per square foot, depending on the materials. A basic 12×12-foot cedar or redwood deck will typically start around $1,500. More exotic hardwoods like ipe can cost $3,000 or more for the same size. Kits that include the wood or composite boards, rails, hardware, and anchors or piers tend to be on the higher end of the range. The specific features and options you choose will also affect the total price. In the end, a floating deck can be an affordable way to add extra living space to your home.
Conclusion
Floating decks offer numerous benefits for homeowners looking to enhance their outdoor living space. With proper planning and preparation, you can create a beautiful and functional floating deck that complements your home’s architecture and surroundings. Focus on choosing quality decking materials, calculating load capacity, allowing for drainage, and incorporating lighting and railing features to maximize your investment. Approach the project with realistic expectations for cost and labor, and don’t forget to check local building codes and obtain necessary permits. While professional expertise may be required for installation, the end result will provide you with expanded outdoor living space and increased home value.
At Rhino Builders, we can help you bring your dream floating deck to life. Follow our blogs to learn more about our tips and guides, or visit our website to discover more about our services.