Water damage is one of the most expensive problems homeowners face. The crazy part? Most of it starts around the windows. That’s where window flashing comes into play. It’s the hidden barrier that keeps water where it belongs: outside. We’ve seen too many homes with rotted framing and mold issues. Almost every time, the root cause was missing or poor installation. Getting this right from the start saves you thousands in repairs down the road.
Why Window Flashing Matters for Every Home
Here’s the thing about water. It always finds a way in if you give it a chance. Window flashing creates a waterproof barrier around your openings. It directs rain and moisture away from the vulnerable spots in your walls. Without it, water seeps behind your siding and into the framing. This leads to rot, mold, and structural damage over time.
We’ve worked on homes where owners didn’t even know they had a problem. The damage was hidden inside the walls for years. By the time they noticed, the repair bills were massive. Good window flashing prevents all of this. It’s one of those things you don’t think about until something goes wrong.
Understanding the Types of Window Flashing
Not all flashing materials work the same way. You’ve got several options depending on your budget and needs. Self-adhesive membrane is super popular right now. It sticks directly to the sheathing and creates a watertight seal. Metal is another solid choice, especially for the drip edge above.
Flexible tape works great around curves and corners. Rigid variants made from aluminum or galvanized steel last for decades. Each type of window flashing serves a specific purpose in the overall system. We typically recommend using multiple types together for complete protection. The key is knowing where each one belongs in the assembly.
Sill Pan and Head Flashing Explained
Let’s break down the two most critical areas. The sill pan sits at the bottom of your opening. Think of it like a bathtub that catches any water that gets past the window. It slopes outward so water drains away from your home. This is your last line of defense against moisture intrusion.
Head flashing goes above. It deflects water that runs down your siding away from the window. Many builders skip this step, and it’s a huge mistake. We always install head flashing on every project. It creates that extra layer of protection you need in heavy rain.
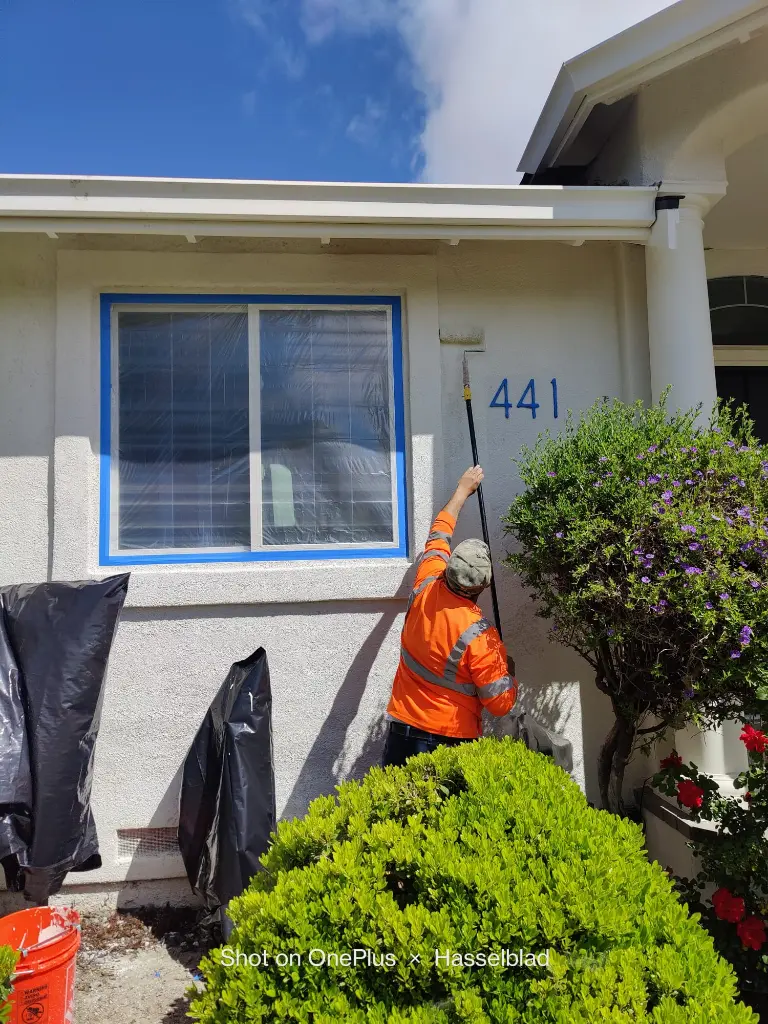
How to Install Window Flashing Step-by-Step
Getting the installation sequence right matters more than most people realize. You need to work from the bottom up. This creates overlapping layers like shingles on a roof. Water flows over each layer without finding a way in. Start with your sill pan flashing before anything else goes in.
Next, apply your jamb flashing up both sides. These pieces should overlap the sill pan by at least two inches. Then comes your unit itself. Finally, install your head flashing across the top. Each layer overlaps the one below it. Following building codes ensures your work meets minimum standards for moisture protection.
Preparing the Sill and Jamb Areas
Before you flash a window, the opening needs proper prep work. Check that your rough opening is square and level. Remove any debris or old caulk from previous installations. The sheathing should be clean and dry before applying any adhesive products.
We always inspect the jamb areas for damage before starting. Any soft or rotted wood gets replaced first. You can’t stick flashing to compromised materials and expect it to hold. Taking time here prevents callbacks and warranty issues later. A solid substrate makes the difference between options that last and options that fail.
Common Mistakes That Lead to Leaks
We see the same errors over and over on job sites. The biggest one is reverse lapping. This means installing the upper pieces under the lower pieces. Water runs right behind the flashing and into your walls. It defeats the entire purpose of having protection.
Here are other common problems we encounter:
- Skipping the sill pan completely
- Using incompatible tape and membrane products
- Not extending it far enough past the opening
- Failing to seal corners and transitions properly
- Installing before it cures
Another huge mistake is relying solely on caulk. Caulk fails over time, guaranteed. Window flashing provides the primary protection. Caulk fills small gaps as a backup. When you install flashing correctly, you don’t need much caulk at all.
Trustindex verifies that the original source of the review is Google. We did an ADU build with a bathroom remodel at the same time. Itay made sure every detail was taken care of, the finishes came together beautifully, and the space feels modern and bright.Posted onTrustindex verifies that the original source of the review is Google. Our full home renovation was a big job, and Rhino handled it professionally from start to finish. Shay checked in regularly, and the results really speak for themselves. We couldn’t be happier! 😁Posted onTrustindex verifies that the original source of the review is Google. Alon was such a pleasure to work with. He really cared about the details and made sure everything turned out exactly how I pictured it. Can’t stop smiling when I look at my new space.Posted onTrustindex verifies that the original source of the review is Google. We had a room addition built and it turned out amazing. The construction blended perfectly with the existing structure, and the workers kept everything clean and well-organized throughout.Posted onTrustindex verifies that the original source of the review is Google. After a bad experience with a different company on a previous project, we were hesitant to start another one. But working with Shay and his team was a completely different experience—they were reliable, communicative, and made us feel at ease throughout the entire room addition. We finally felt like we were in good hands, and the results speak for themselves!Posted onTrustindex verifies that the original source of the review is Google. We’ve worked with contractors before, but this was different. Rhino Builders really listened and made it easy. The results are beautiful!Posted onTrustindex verifies that the original source of the review is Google. The attention to detail was impressive. They made sure everything matched our home perfectly. Super happy with the outcome.Posted onTrustindex verifies that the original source of the review is Google. Rhino Builders had amazing service from day one. They were super patient with all our questions and changes, and never made us feel rushed. It’s rare to find a team that listens and truly cares—so grateful we chose them!Posted onTrustindex verifies that the original source of the review is Google. We chose to go with Rhino builders after interviewing a few companies around. These guys were really great. They gave us a fair price to get our 2 bathrooms and our kitchen remodeled. They were very helpful with the designs and choosing the materials throughout the remodel. We had a good experience with them.Posted onTrustindex verifies that the original source of the review is Google. I really enjoyed working with Shay and his team on our home remodeling projects. We did some layout changes and they were beyond helpful with plans, architecture and all the ideas we had. Will probably do some outdoor design and work again with this company next year.Verified by TrustindexTrustindex verified badge is the Universal Symbol of Trust. Only the greatest companies can get the verified badge who has a review score above 4.5, based on customer reviews over the past 12 months. Read more
Best Practices for Successful Window Installation
After years of installing windows, we’ve learned what actually works. Always read the manufacturer’s instructions first. Different brands have specific requirements. Following their guidelines protects your warranty coverage, too.
Use quality materials even if they cost a bit more. Cheap flashing tape loses adhesion after a few seasons. Premium self-adhesive membranes stay bonded for the life of the window. We also recommend working in good weather conditions. Most flashing products need temperatures above 40 degrees to stick properly. Rushing the job in bad weather creates problems that show up later.
Protect Your Home with Proper Window Flashing
Your home is probably your most significant investment. Protecting it from water damage just makes sense. Window flashing might not be glamorous, but it’s essential. Taking the time to do this right pays off for decades. You’ll avoid costly repairs and keep your home’s structure solid.
If you’re not comfortable with flashing work, hire a professional. This isn’t the place to cut corners or learn as you go. The stakes are too high when water damage is at stake. A few hundred dollars now prevents thousands in repairs later. Your future self will thank you for getting window flashing done right the first time.
Frequently Asked Questions
What materials do I need to flash a window properly?
You’ll need self-adhesive flashing membrane, a sill pan or pan material, and head flashing. Most projects also require flashing tape for corners and transitions. Some installations use rigid metal flashing for added durability. Check your manufacturer’s specifications for approved products. Using compatible materials ensures everything bonds correctly and lasts.
How long does window flashing typically last?
Quality flashing materials last 20 to 30 years when installed correctly. Premium self-adhesive membranes often outlast the windows themselves. Metal flashing can last even longer with proper maintenance. The key is using good products and following best practices during installation. Cheap materials might fail within 5 to 10 years.
Can I add flashing to existing windows without removing them?
It’s difficult but sometimes possible. You can add head flashing above existing windows in many cases. However, proper sill pan installation requires removing the window. Retrofitting usually means compromises in coverage. For complete protection, removing and reinstalling is the best approach.
How do I know if my current window flashing has failed?
Watch for water stains on interior walls near windows. Peeling paint or bubbling drywall indicates moisture problems. You might notice musty odors or visible mold around frames. Soft spots in the drywall are another warning sign. Catching these issues early limits the damage and repair costs.
Do all windows need a sill pan?
We strongly recommend sill pans for every window installation. Building codes in many areas now require them. The sill pan catches water that penetrates past the window unit. Without one, moisture can enter your wall cavity. It’s cheap insurance against the cost of water damage.
Should I hire a professional or install window flashing myself?
If you’re comfortable with construction projects, you can DIY the installation. The process requires attention to detail and proper sequencing. However, mistakes lead to hidden water damage that’s expensive to fix. For most homeowners, hiring a professional makes sense. The cost is reasonable compared to potential repair bills from improper installation.