Are you ready to embark on an exciting journey to transform your bathroom into a space that reflects your style and personality? Welcome to the world of DIY bathroom remodels, where creativity meets practicality, and the possibilities are endless. In this guide, we’ll explore the ins and outs of revamping your bathroom with your own hands, from the initial planning stages to the finishing touches. Get ready to roll up your sleeves and unleash your inner designer!
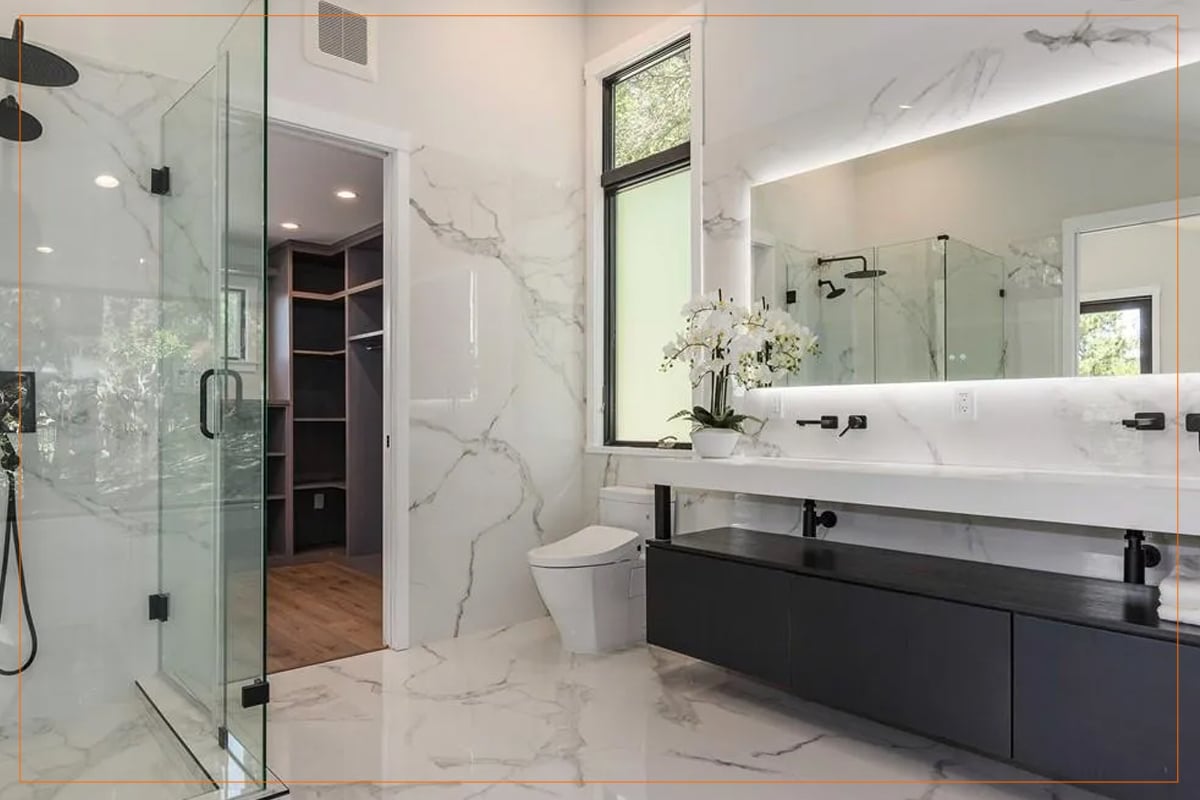
Planning Your DIY Bathroom Remodel
Before diving headfirst into your bathroom makeover project, it’s essential to lay the groundwork for success. Here’s how to kickstart your DIY adventure:
1. Assessing Your Current Bathroom Layout: Take a good look at your existing bathroom setup. What aspects do you love? What needs improvement? Identifying these key areas will help you focus your efforts and prioritize changes.
2. Setting a Budget and Timeline: Like any home improvement project, budgeting is crucial for a DIY bathroom remodel. Determine how much you’re willing to spend and create a realistic timeline for completing the renovation. This will help you stay on track and avoid any unexpected financial surprises along the way.
3. Researching Design Inspiration: Browse through magazines, websites, and social media platforms to gather inspiration for your dream bathroom. Whether you prefer a sleek, modern aesthetic or a cozy, rustic vibe, exploring different styles and trends will help you narrow down your vision.
4. Gathering Necessary Materials: Once you have a clear idea of your design preferences, it’s time to compile a list of materials and supplies needed for the remodel. From tiles and fixtures to paint and tools, make sure you have everything on hand before starting the renovation process.
With a solid plan in place, you’re one step closer to achieving the bathroom of your dreams. Stay tuned as we delve deeper into the world of DIY bathroom remodels, uncovering expert tips and tricks along the way. Ready to make a splash? Let’s dive in!

Preparing Your Bathroom for Remodeling
Now that you’ve got your plan in place, it’s time to roll up your sleeves and prep your space for its stunning transformation. Here’s how to get your bathroom remodel-ready:
1. Clearing Out the Space and Organizing Supplies: Begin by decluttering your bathroom and removing any unnecessary items. Clearing out the space will give you a clean canvas to work with and make the renovation process much smoother. Once you’ve tidied up, organize your supplies and tools to ensure easy access throughout the project.
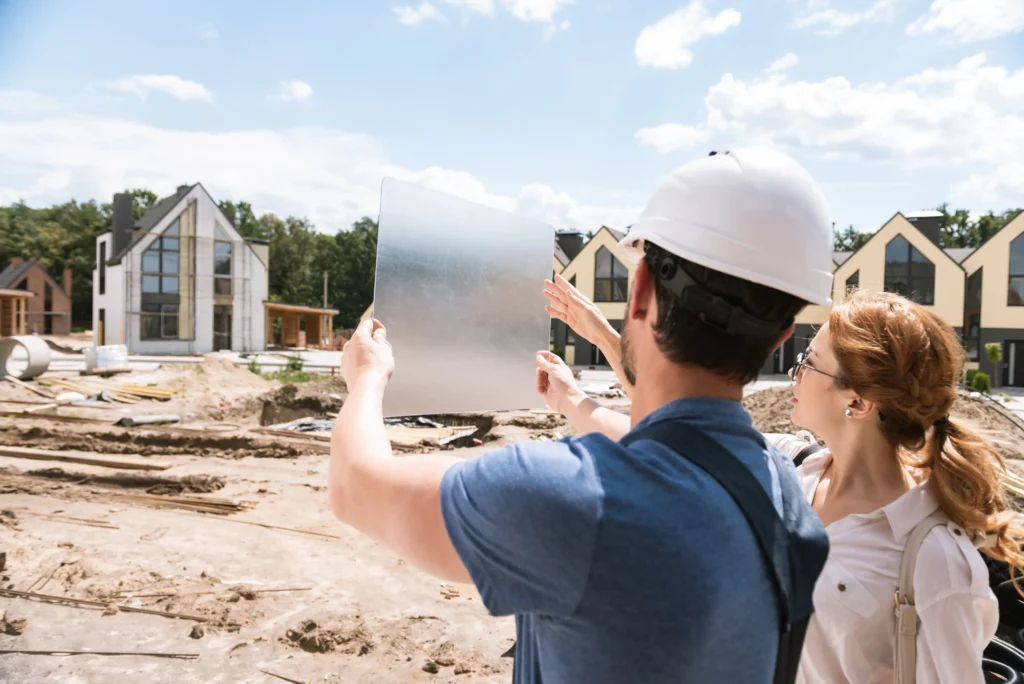
2. Taking Accurate Measurements and Creating a Blueprint: Precision is key when it comes to remodeling your bathroom. Take detailed measurements of the room, including dimensions of walls, windows, and fixtures. Use these measurements to create a blueprint or layout plan, mapping out where each new element will be placed. This will help you visualize the final result and avoid any costly mistakes during installation.
3. Understanding Plumbing and Electrical Considerations: Before making any structural changes to your bathroom, it’s essential to understand the plumbing and electrical systems. Identify the location of existing pipes, drains, and wiring to avoid accidental damage during the remodel. If you’re unsure about any aspect of the plumbing or electrical work, consult with a professional to ensure safety and compliance with building codes.
DIY Bathroom Remodel: Step-by-Step Guide
With your bathroom prepped and ready to go, it’s time to dive into the heart of the remodel. Follow these step-by-step instructions to bring your vision to life:
1. Demolition: Say goodbye to the old and make way for the new! Start by removing old fixtures, tiles, and flooring. Use protective gear such as goggles and gloves, and work methodically to avoid causing unnecessary damage to surrounding surfaces.
2. Installation: Once you’ve cleared the space, it’s time to start building your dream bathroom. Install new fixtures such as sinks, toilets, and showers according to your blueprint. Lay down new tiles or flooring, ensuring proper adhesion and alignment for a polished finish.
3. Painting and Finishing: The final touches are what truly bring your bathroom remodel to life. Choose a color scheme that complements your design aesthetic and apply a fresh coat of paint to the walls. Install decorative elements such as trim, mirrors, and shelving to add personality and functionality to the space. Don’t forget to seal grout lines and apply waterproofing solutions to protect your investment for years to come.
With each step completed, you’re one step closer to enjoying your newly remodeled bathroom. Stay tuned as we explore more tips and tricks for a successful DIY renovation journey. Ready to see your vision come to life? Let’s keep the momentum going!

Tips and Tricks for a Successful DIY Bathroom Remodel
Now that you’re knee-deep in your bathroom remodel, it’s time to share some insider secrets to ensure your project goes off without a hitch. Here are some tried-and-true tips and tricks to help you achieve a stunning result:
1. Utilizing Space-Saving Solutions for Small Bathrooms: Don’t let limited square footage cramp your style! Get creative with space-saving solutions such as wall-mounted storage, compact fixtures, and clever organization hacks.
2. Maximizing vertical space: Utilizing multifunctional furniture can help make even the tiniest bathroom feel spacious and functional.
3. Choosing Durable and Water-Resistant Materials: When selecting materials for your bathroom remodel, prioritize durability and water resistance. Opt for high-quality tiles, flooring, and countertops that can withstand daily wear and tear, moisture, and humidity. Look for materials with a waterproof sealant or finish to ensure longevity and easy maintenance.
4. Incorporating Eco-Friendly and Energy-Efficient Elements: Make your bathroom remodel eco-friendly and energy-efficient by choosing sustainable materials and energy-saving fixtures. Install low-flow faucets, showerheads, and toilets to reduce water consumption and lower utility bills. Consider incorporating natural light with skylights or energy-efficient LED lighting to brighten up the space while saving energy.
Common Mistakes to Avoid
While DIY bathroom remodels can be immensely rewarding, they’re not without their challenges. Here are some common pitfalls to steer clear of:
1. Underestimating the Time and Effort Required for the Project: Renovating a bathroom takes time, patience, and careful planning. Don’t rush through the process or underestimate the amount of work involved. Be realistic about your timeline and budget, and allocate sufficient time for each phase of the remodel to avoid unnecessary stress and setbacks.
2. Neglecting Proper Ventilation and Waterproofing: Proper ventilation and waterproofing are essential for maintaining a healthy and functional bathroom environment. Install a quality ventilation fan to remove excess moisture and prevent mold and mildew growth. Ensure that all surfaces, especially those exposed to water, are properly sealed and waterproofed to prevent leaks and water damage.
3. Skipping Professional Assistance When Necessary: While DIY projects can be empowering, certain tasks are best left to the professionals. If you encounter plumbing, electrical, or structural issues beyond your expertise, don’t hesitate to seek professional assistance. Investing in professional help upfront can save you time, money, and headaches in the long run.
By following these tips and avoiding common mistakes, you’ll be well on your way to a successful DIY bathroom remodel. Keep up the great work, and stay tuned for more expert advice as we continue our renovation journey together!
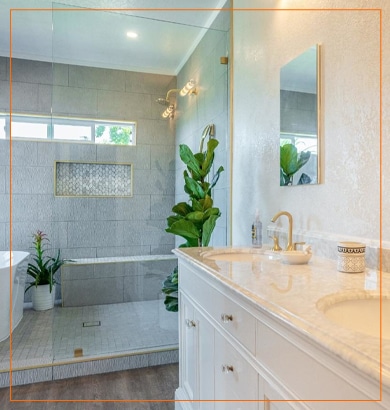
Maintaining Your Newly Remodeled Bathroom
Congratulations on completing your DIY bathroom remodel! Now that you’ve transformed your space into a haven of style and comfort, it’s essential to keep it looking its best for years to come. Here’s how to maintain your newly remodeled bathroom:
1. Establishing a Regular Cleaning Routine: Keep your bathroom sparkling clean by establishing a regular cleaning schedule. Wipe down surfaces, scrub tiles and grout, and clean fixtures and mirrors to prevent buildup of dirt, grime, and soap scum. Use mild, non-abrasive cleaners to avoid damaging surfaces, and don’t forget to disinfect high-touch areas to maintain a hygienic environment.
2. Addressing Minor Repairs Promptly: Stay proactive and address any minor repairs promptly to prevent them from turning into major issues. Keep an eye out for leaky faucets, loose tiles, or malfunctioning fixtures, and take action as soon as you notice any signs of damage. By staying on top of maintenance tasks, you can prolong the lifespan of your bathroom and avoid costly repairs down the line.
3. Updating Decor and Accessories: Keep your bathroom looking fresh and stylish by updating decor and accessories regularly. Swap out towels, rugs, and shower curtains for a quick and easy refresh. Add greenery or artwork to inject personality and warmth into the space. Consider rotating decor seasonally to keep things interesting and on-trend.
Ready to take your DIY bathroom remodel to the next level? Keep reading for detailed Q&A, additional insights, and expert advice to help you navigate every step of the renovation journey.
FAQs
- 1. How can I save money on my DIY bathroom remodel?
- Consider repurposing or refinishing existing fixtures and materials.
- Shop for budget-friendly alternatives for tiles, flooring, and fixtures.
- DIY certain tasks such as painting, demolition, and minor repairs to cut labor costs.
- Comparison shop for materials and look out for sales or discounts at home improvement stores.
- 2. What tools do I need for a basic bathroom remodel?
- Hammer and nails
- Screwdriver set
- Utility knife
- Tape measure
- Adjustable wrench
- Power drill
- Tile cutter
- Level
- Caulk gun
- Safety goggles and gloves
- 3. How long does a DIY bathroom remodel typically take?
- The duration of a DIY bathroom remodel can vary depending on the scope of the project, the size of the bathroom, and your level of experience.
- On average, a basic remodel involving cosmetic updates like painting, tile replacement, and fixture installation can take anywhere from 1 to 3 weeks.
- More extensive renovations, such as complete gutting and restructuring, may take several weeks to a few months to complete.
- 4. Should I hire professionals for certain aspects of the remodel?
- It’s advisable to hire professionals for tasks that require specialized skills or expertise, such as plumbing, electrical work, and structural modifications.
- Hiring professionals can ensure safety, compliance with building codes, and high-quality workmanship, ultimately saving you time and hassle in the long run.
- 5. What are some creative design ideas for small bathrooms?
- Install a pedestal sink or wall-mounted vanity to create the illusion of more space.
- Opt for light-colored tiles and paint to make the room feel brighter and more spacious.
- Incorporate mirrored surfaces to reflect light and visually expand the space.
- Utilize vertical storage solutions such as shelves or built-in niches to maximize storage without sacrificing floor space.
- Consider installing a glass shower enclosure or a curbless shower to create a seamless, open feel.
Conclusion:
Embarking on a DIY bathroom remodel is an exciting journey that offers endless opportunities for creativity and self-expression. By following the steps outlined in this guide and taking advantage of expert tips and insights, you can achieve a stunning makeover that reflects your style and fits your budget. Remember to stay patient, stay organized, and enjoy the process of transforming your bathroom into the oasis of your dreams. Happy remodeling!

