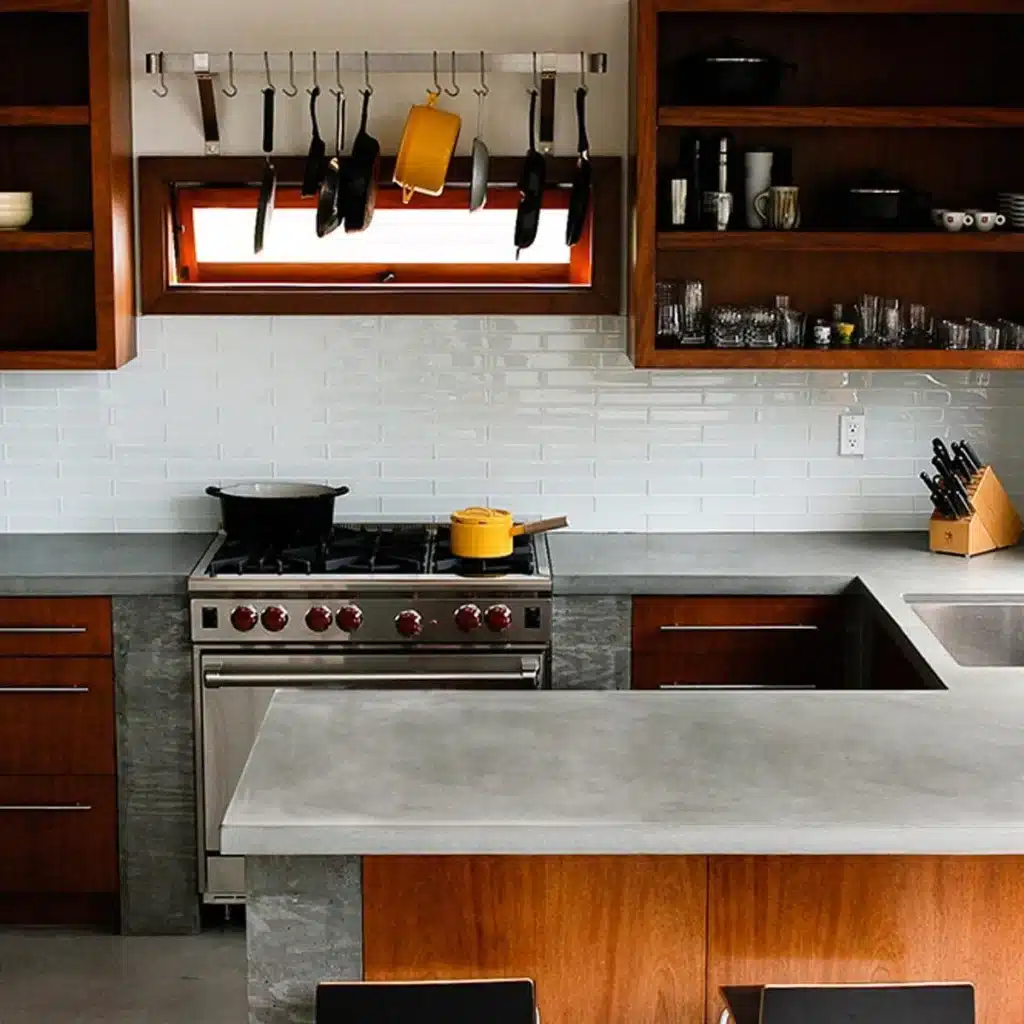
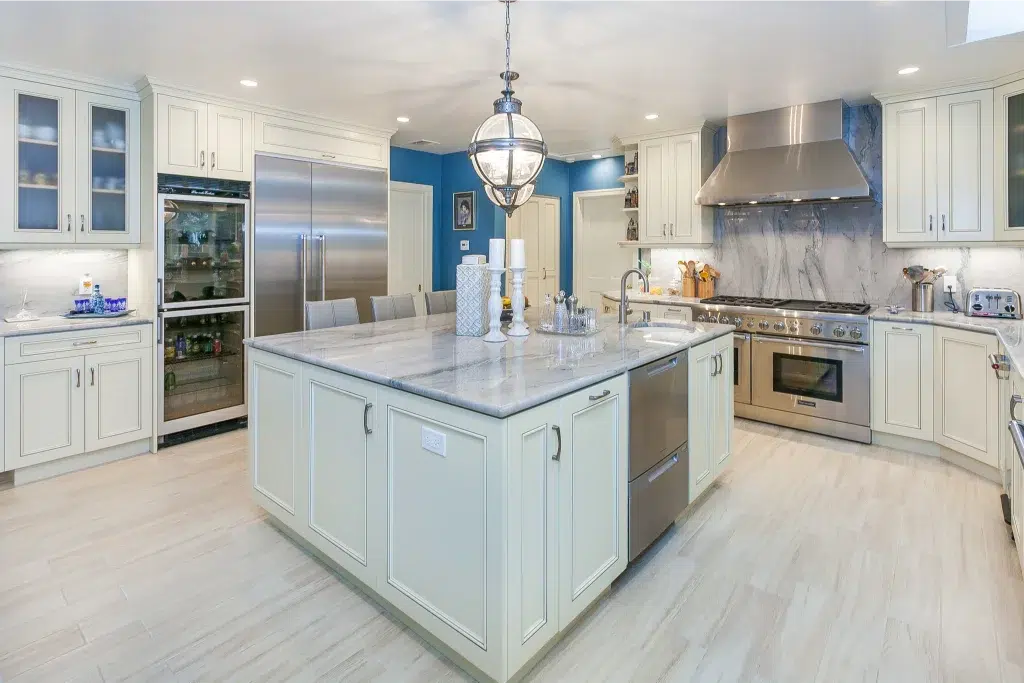
Concrete countertops have gained popularity in recent years due to their durability, versatility,
and unique aesthetic appeal. Crafting your own concrete countertops can be a rewarding DIY
project, but it requires careful planning and execution. In this step-by-step guide, we’ll walk you
through the process of mixing and pouring concrete countertops the right way, ensuring a
successful outcome that adds a touch of modern elegance to your home.

Step 1: Gather Your Materials and Tools
Before you begin, make sure you have all the necessary materials and tools ready:
Materials:
- Concrete mix specifically designed for countertops.
- Reinforcement fibers or mesh.
- Melamine or plywood for creating the mold.
- Silicone caulk.
- Molds for sink openings, edges, and corners.
- Vibrator or sander for removing air bubbles.
- Plastic sheeting.
- Release agent (cooking oil or form release agent).
- Colorants (optional).
Tools:
- Screwdriver and screws
- Circular saw or table saw
- Measuring tape and level.
- Mixing container (plastic tub or wheelbarrow).
- Mixing paddle or drill with a mixing attachment.
- Trowel and float.
- Safety gear: gloves, safety glasses, and a dust mask.
Step 2: Design Your Countertop and Create a Template
Start by designing your countertop layout. Measure your existing countertop or the area where
you plan to install the countertop. Create a template using melamine or plywood, making sure to
account for sink and faucet holes, edge profiles, and any unique features you want to include.
Step 3: Build the Mold
Use the template to cut and assemble the mold for your countertop. Secure the mold’s edges
and corners with screws to prevent leakage. Apply a release agent to the mold’s interior to
facilitate easy removal of the cured concrete.
Step 4: Reinforcement and Sink Openings
If your design includes reinforcement, such as fibers or mesh, add it to the mold. Additionally,
create openings for sinks and faucets. These openings should be accurately positioned
according to your template.
Step 5: Mix the Concrete
Prepare the concrete mix according to the manufacturer’s instructions. You can add colorants at
this stage if you want to customize the concrete’s color. Mix thoroughly until you achieve a
smooth and uniform consistency. Aim for a mix that resembles a thick, but workable, oatmeal.
Step 6: Pour the Concrete
Carefully pour the mixed concrete into the mold, starting with a small amount at a time. Use a
trowel to distribute the concrete evenly within the mold. To minimize air bubbles, use a vibrating tool or a sander to tap the sides of the mold and the surface of the concrete. This helps the concrete
settle and release trapped air.
Step 7: Screed and Level
After filling the mold, screed the concrete by using a straightedge (a long, flat piece of wood or
metal). Drag the straightedge across the surface of the mold to level the concrete. Make sure it’s
even and at the height you desire.
Step 8: Edge Profiling
Create the desired edge profiles using edge forms. These forms can give your countertop a
unique and stylish look. Press the edge forms into the wet concrete and secure them in place
with screws.
Step 9: Cure and Cover
Cover the concrete with plastic sheeting to keep it moist during the curing process. It’s essential
to cure concrete slowly and evenly to prevent cracking. Allow the countertop to cure for at least
3-7 days.
Step 10: Demold and Finish
Once the concrete has sufficiently cured, remove the screws from the mold and gently
disassemble it. Carefully lift the countertop out of the mold. If you have sink or faucet holes, be
extra cautious during this step.
Step 11: Sand and Polish
Use progressively finer grits of sandpaper or diamond polishing pads to smooth and polish the
countertop. This step enhances the concrete’s appearance and texture. Be patient and thorough
in this process to achieve a flawless finish.
Step 12: Seal and Install
Apply a high-quality concrete sealer to protect the countertop from stains and moisture. Follow
the manufacturer’s instructions for the sealer application. After sealing, your concrete countertop
is ready for installation.
Conclusion
Mixing and pouring concrete countertops is a rewarding project that can add a touch of
elegance and uniqueness to your home. By following this step-by-step guide, you can
confidently create your own customized concrete countertops. Remember to take your time,
follow safety guidelines, and consult with professionals or online resources if you encounter any
challenges along the way. With the right preparation and execution, you can enjoy the beauty
and durability of concrete countertops in your kitchen or bathroom for years to come.


